 |
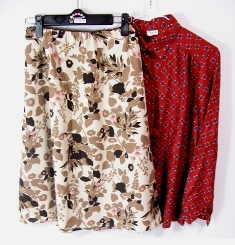
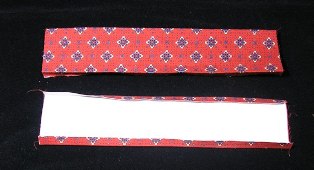
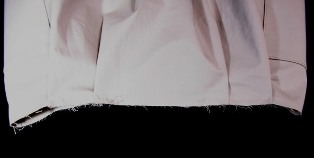
An old blouse and a skirt.
Cut all allowances and iron. |
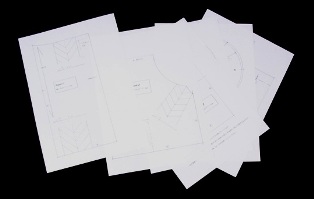 |
Print patterns from my HP.
Cut them on the outlines.
Print the bottom and handle pattern on two paper sheets
|
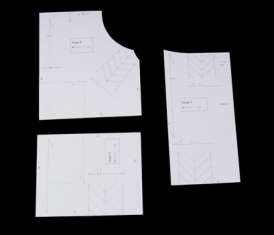 |
Front pattern is separated into three parts since A4 paper is too small
for the pattern.
Join (a) of front 2 to (a) of front 3 with Scotch tape. |
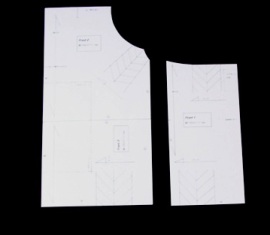 |
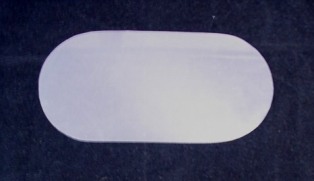
Next, join (b) of front 1 to (b) of front 2 and 3 with Scotch tape.
|
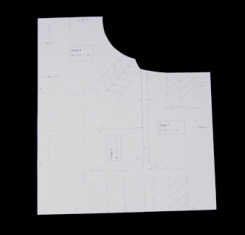 |
Completed front pattern.
* This is 1/2 front part pattern.
Flip the pattern to make the other side (mirror image).
|
 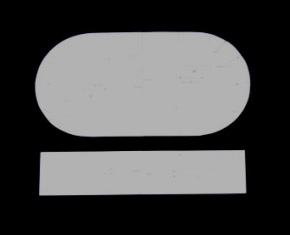 |
Bottom and handle pattern.
Join the two pieces at the center with Scotch tape. |
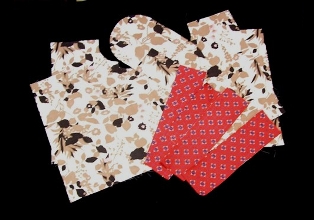 |
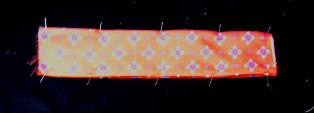
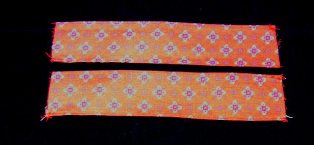
Cut the garment fabrics.
2 for front, 4 for handles, 1 for a bottom.
|
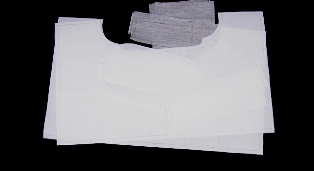 |
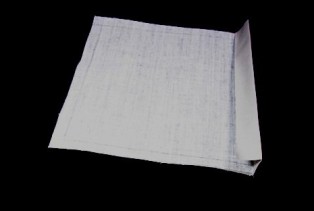
Cut the fusible interlinings. (hard type and crispy type)
crispy type
2 for front, 1 for bottom, 2 for handles.
hard type
2 for handles, 2 for pockets. |
* Cut the lining cloth for front, bottom and pockets. Make sure the notch
marks are marked.
* Iron the fusible interlinings to the every wrong side of garment fabrics,
stay cloth and pockets. |
 |
Fold raw edges of handle pieces. |
 |
Put a handle piece on top of each other back side together.
Edgestitch along all long edges. |
 |
Two handles. |
 |
Fold the top edge of the pocket 2cm twice. |
 |
Topstitch along the fold. |
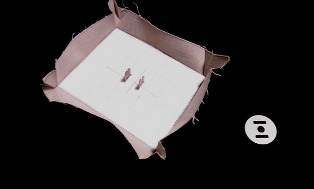 |
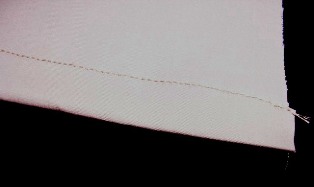
Make prong marks of magnetic snap on the stay cloth and cut 2 slits in the fabric at the marks.
Push the metal prongs through the slit of the fabric. |
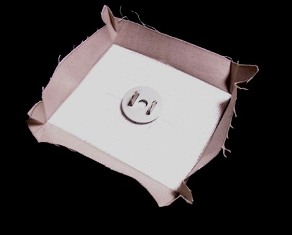 |
Slip a washer on the back. |
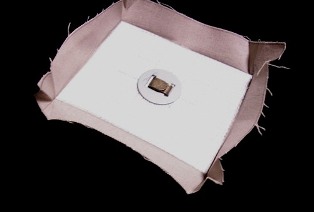 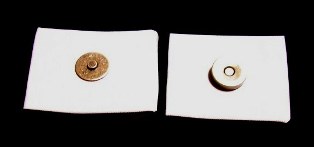 |
Press the prongs to secure.(photo left)
Right side view (photo right) |
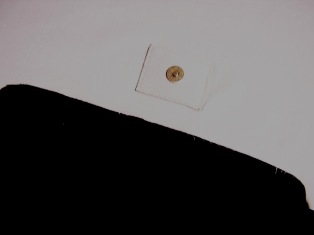 |
Place the stay cloth on the right side of the lining cloth and edgestitch
along all edges. |
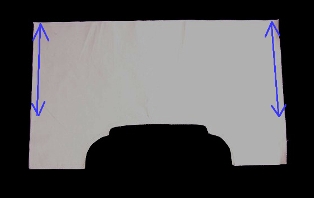 |
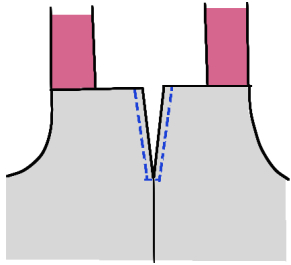
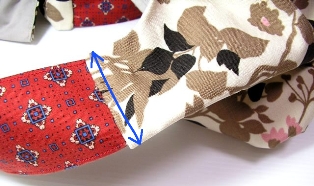
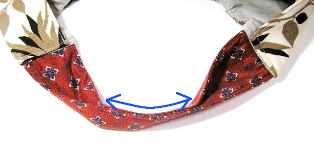
Lay the lining cloths right side together and pin the side lines.
Sew the side lines from the bottom to the crotch end.
(photo, blue arrowed lines)
For your safety, you should remove pins just before stitching reaches them.
|
 |
Fold the raw edges of the openings. |
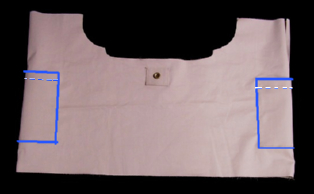 |
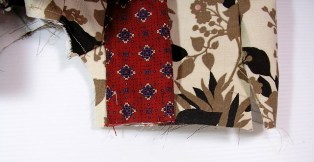
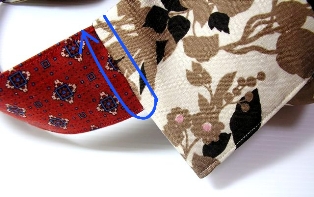
Place pockets on the side of the lining and stitch around the lower three
sides.(photo, blue lines)
|
 |
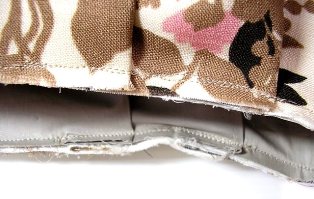
Tucking the raw edge of upper and underneath and stay stitching.
|
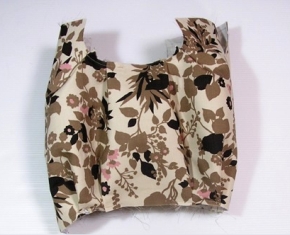 |
Sew the side lines of garment fabric from bottom to the crotch end, tucking
and stay stitching.
Fold the raw edges of the openings.
|
 |
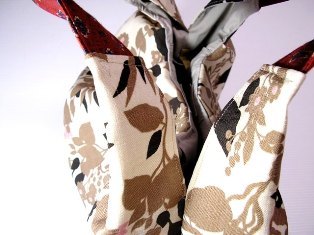
Position each end of the handles on (c) of Front 2.
|
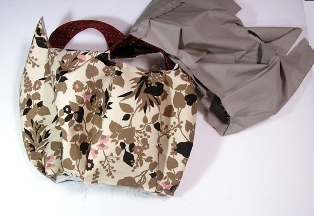 |
Insert the outer bag to the lining right side facing.
|
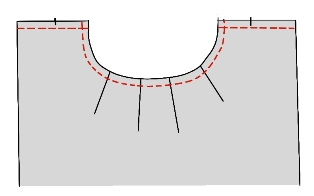 |
Sew the upper seam allowanses as shown by the red dash lines. |
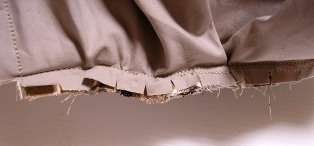 |
Notching seam allowances allows the fabric to mold into a curve. |
 |
Topstitch along the croth. (blue dash lines)
|
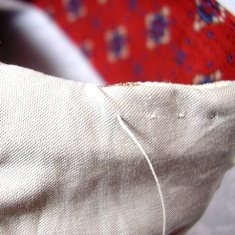   
(→ → photo: left to right → →)
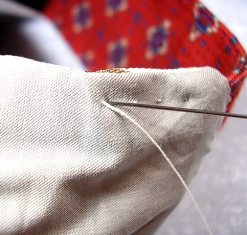
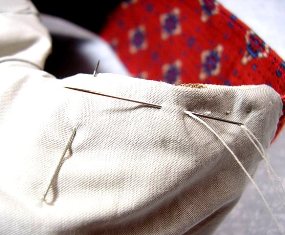
Prick stitching along the upper curve to keep lining from rolling.
The needle must go through the lining and all the seam allowances.
|
 |
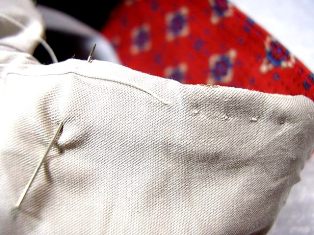
Front view.
No stitches are showing.
|
 |
Fold the upper straight edge. |
 |
Top stitching as shown by the blue arrowed line. |
 |
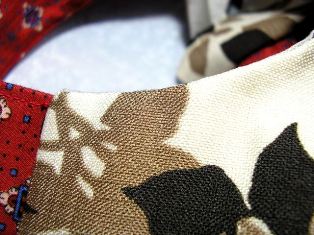
Side view. |
 |
Stay stitchng (garment cloth and lining). |
 |
Turn to back.
Match the markings on the bottom and the front parts and sew together.
|
 |
Cut an acrylic sheet for stiff bottom. |
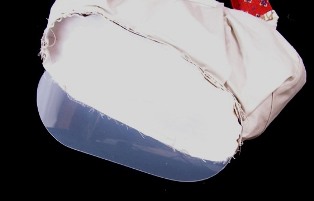 |
Set the sheet into the inner bottom.
|
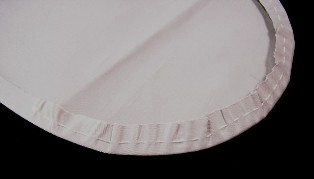 |
Fold the bottom lining seam allowance. |
 |
Hand sewing the bottom lining onto the inner bottom.
|
 |
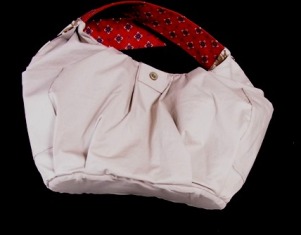
Measure 9cm from both ends of handles, fold the middle of handles and edgestitch
along the edge.
Turn to right. |
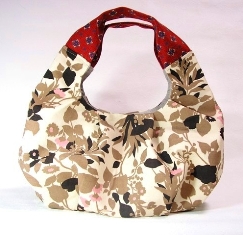 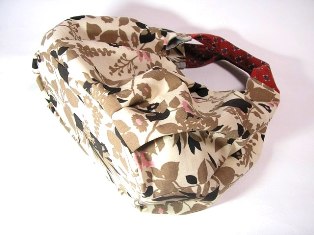
Finish!
|