


35.Wrap the center portion around the center of the ribbon.
Sew it at the back.
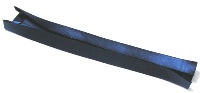
32.Turn to right.
Press the ribbon.
Sew a whip stitch to close the opening.

Finish !
Designed by Zannalee's
Copyright (c) 2009 Zannalee's. All rights reserved.
Ribbon pattern →
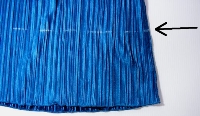
12.Bottom seam width is 1cm.
Sew two rows of basting stitches-one just above and one just below the seam line.
25.Wrong side view.
3.Draw a horizontal line between the two points.
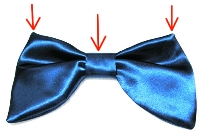
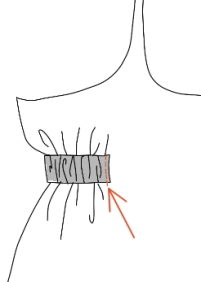
37.To apply the ribbon on the bag, sew it at three points.
6.Draw the line along the front edge with a soft pencil or a tailor's chalk.
37

→
back


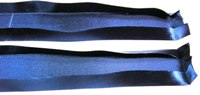
30.Lay the ribbon fabrics right side facing.
Sew the seam allowance leaving an opening about 5cm in the middle of the
straight line.
31
31.Clipping at the curved edges. (straight snips)
Press the edges to fold it.

29
→
→
27.Print a pattern from my HP at same size on A4 paper sheets.
Cut it out.
23.Cover the elastic and stitch over it.
Please choose the same color thread to match your bag.

→
20.
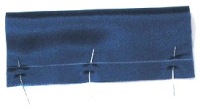
Cut 2 pieces of the satin fabric (27cm×5cm) to make casings.
Fold 1cm all around the edges with an iron.
wrong side
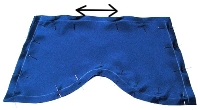
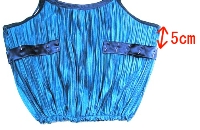
19.Front view.
19
20
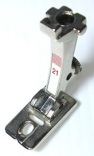
17.Metallic cord and Braiding foot
Another idea is adding a grosgrain ribbon using a straight stitch or zigzag
stitch to fix the armhole.
17


16

15
16.Fix a cord on the shoulder straps and armholes since they are made of stretch fabrics.

13

11
10

9
10.Bind the seam allowance and stitch on the edge of the tape.

7
6
7.Cut it off.

5.Triming the back edge.
5

3
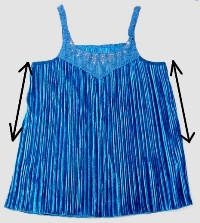
2.Mark points 25cm from either side of underarm points.
2
Studded lace with sequin on the front.
36
front
35
→

34
34.Front view.

32
33.Fold the ribbon like this, straight stitch 2.5cm at the center of it.

29.Sew the center portion seam to make a tube, turn to right and press it.
30
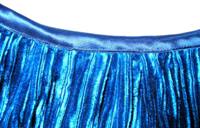
18.Couched metallic cord.

18

12
9.Place the tape on the top edge of the back body.
Pin it and sew it with 1cm seam allowance.
8

4.Cut it off.
Lock stitch on the hem.
4
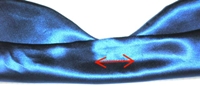
33
36.Lay out the position of the ribbon.
Preparations
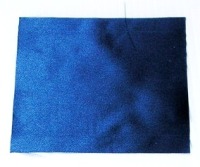
Camisole top
Polyester satin fabric 92×40cm
Metallic cord or grosgrain ribbon 1m
1.5cm wide elastic 20cm
13.Pull the threads to 20cm and arrange the gathered space evenly.
Sew the seam line twice to make it strong.
28.Cut two satin fabric pieces for a ribbon with 1cm seam allowance and one square without seam allowance for a center portion.
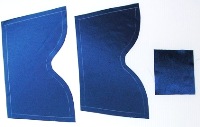
28

15.Wrong side view.

25
23
wrong side

22
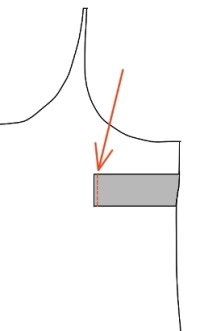
21.Match the center points of the casing to the points 5cm from either side of underarm points of wrong side, pin it and stitch on the long edges of the casing.
21
24.Pull the elastic through the casing to the other side and stitch over
it again.
It's gathered.
wrong side
27
→

26.Turn to right.
Make the bag more gorgeous.
26
22.Cut 1.5cm wide elastic to the two lengths of 20cm.
Slide the elastic into the satin casing.
24
(14.Another way to sew the bottom of a bag, lay a reinforcing tape on the seam line, pin it and sew it with 1cm seam allowance.)
14
11.Front view.
8.I made a bias tape (width 25mm, length 22cm) out of a satin fabric instead
of a commercially available bias tape.
Fold 1cm on each ends.


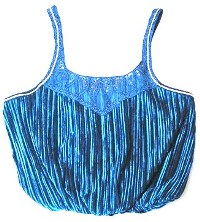
1.An old velour camisole top.
1